
Recipe Link
Cake
1 box Betty Crocker® SuperMoist® yellow cake mix
Water, vegetable oil and eggs called for on cake mix box
Platter, tray or foil-covered cardboard (about 10x10 inches)
Frosting and Decorations
Water, vegetable oil and eggs called for on cake mix box
Platter, tray or foil-covered cardboard (about 10x10 inches)
Frosting and Decorations
2 containers (1 lb) Betty Crocker® Rich & Creamy vanilla frosting
1 candy stick or marshmallow pole (8 to 10 inches long)
Food color (in desired colors)
Betty Crocker® decorating gel (from 0.68-oz tube) in any color
Decorating sugar crystals (any color)
Food color (in desired colors)
Betty Crocker® decorating gel (from 0.68-oz tube) in any color
Decorating sugar crystals (any color)
Jordan almonds (could use jelly beans instead)
Small round candy decorations/sprinkles
Directions
1. Heat oven to 350°F (or 325°F for dark or nonstick pans). Make and cool cake as directed on box for 2 (8- or 9-inch) round cake pans. Level the tops of each cake and put together with a layer of frosting in between.
2. Cut cake in half crosswise; cut each half into 1/3 and 2/3 pieces (as shown in diagram). Place cake pieces on platter to form butterfly. Gently separate cake pieces to form wings.
3. Reserve 1/2 cup frosting. Frost cake pieces with remaining frosting. Place candy stick between cake pieces for butterfly body.
4. Stir food color into reserved frosting until well blended. Spread over cake in desired pattern on wings. Outline wing patterns with gel. Sprinkle with sugar crystals. Place jelly beans on corners of wings. Decorate butterfly with candy decorations.
High Altitude (3500-6500 ft): Follow High Altitude directions on cake mix box for 8-inch or 9-inch round cake pans.
Adapted from Betty Crocker

 |
| Everything gathered and ready to start. This was the first time I used Baker's Joy and it worked nicely. Since I made a double layer cake I used two cans of frosting instead of one. |
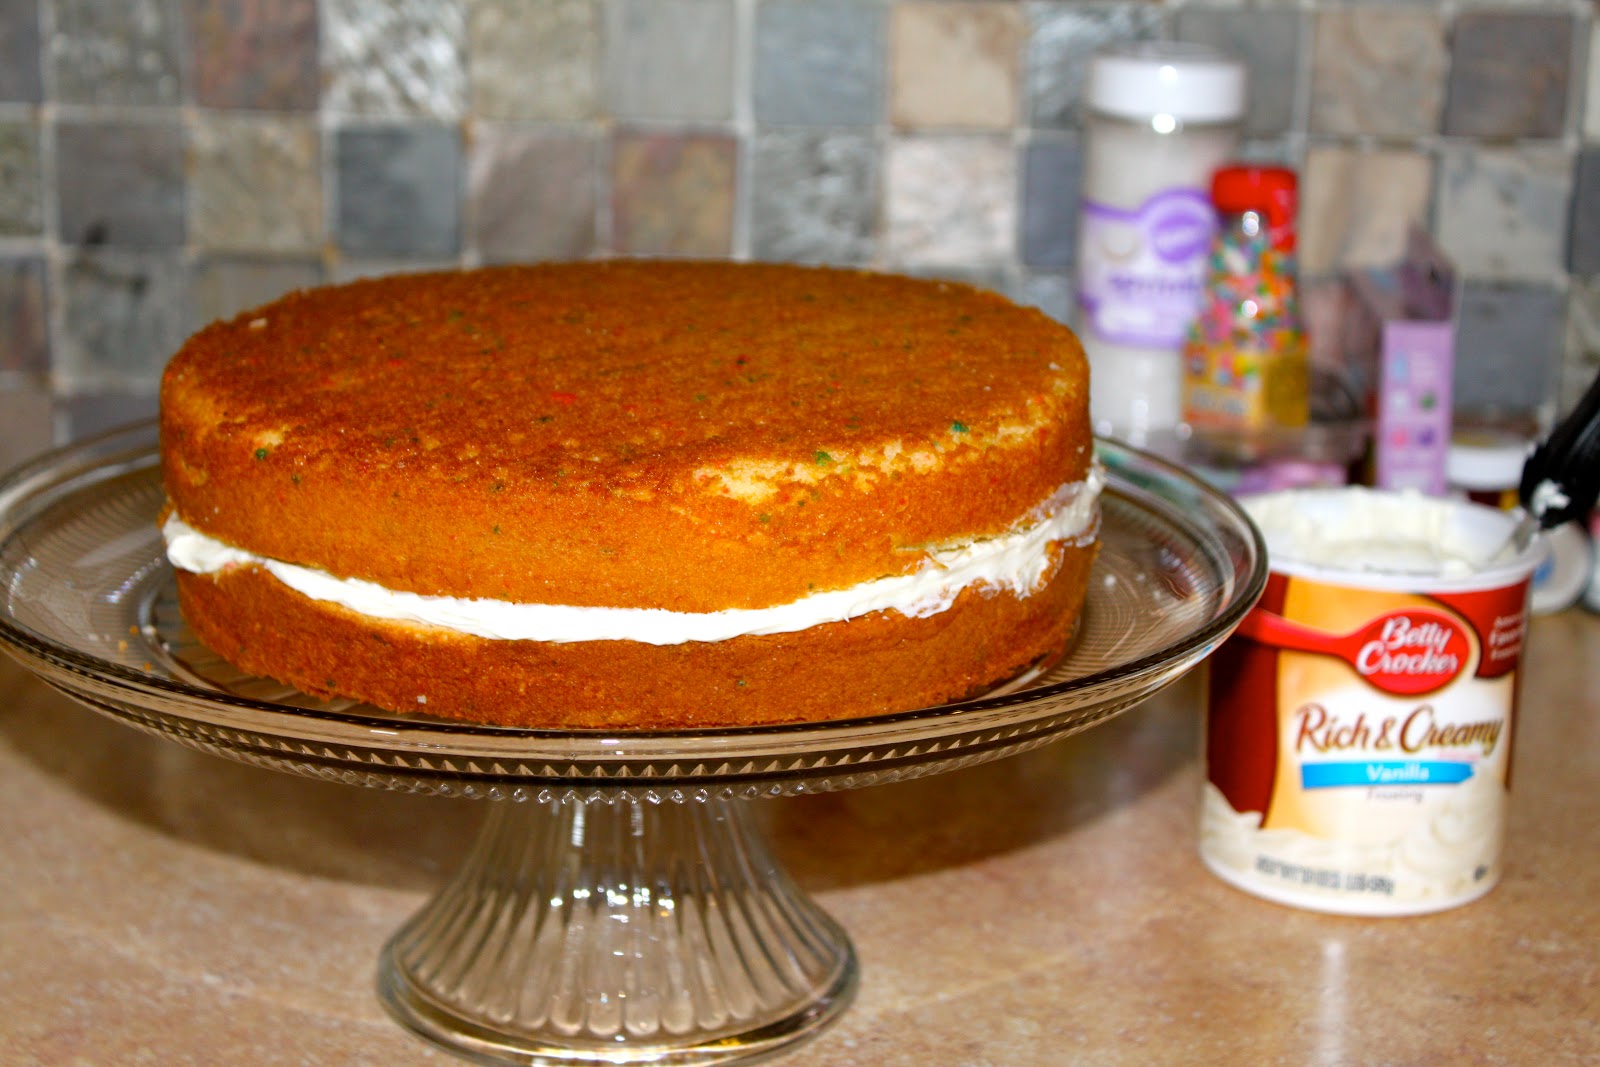 |
| I followed the cake mix directions and baked the batter in two 9-inch round pans. After the cakes cooled I used a serrated knife and leveled off the tops of each cake. Then, I stuck them together with a layer of frosting before I cut out the butterfly shapes. |
 |
| It took me a few times looking at the diagram to figure out how to arrange the butterfly shapes. I decided to try the tip from the video to put wax paper underneath the edges to keep the cake pedestal clean while frostiItng the cake. I think it helped. |
It took me awhile to frost the crumb coat. There were a lot of crumbs since most of the outside edges are cut edges. It didn't help that I made a confetti chip cake mix. This was the most tedious part, but after the crumb coat was done it was time to have fun!
The video on Betty Crocker was really helpful. I watched it before I started decorating. I used my daughter's favorite colors (pink, purple and light blue). I used glitter gel to accent the wings and used white sugar crystals and confetti sprinkles for some extra sparkle and color.
My daughter was excited when she came home from school and saw her birthday cake. She liked how it turned out and it wasn't difficult to put together. We couldn't wait to sing Happy Birthday and dig in!
I share recipes at these linky parties.
What a wonderful job!!
ReplyDeleteAwesome cake and actually looks very complicated. Thanks for explaining as now I see it's quite easy :)
Great looking cake!!
Thank you! It was easier to make than I thought it would be and my daughter loved it. Thanks for stopping by!
Delete