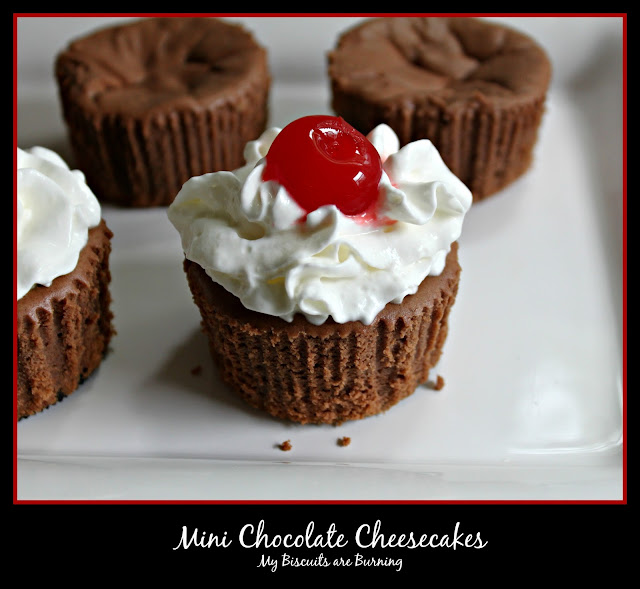
Mini Chocolate Cheesecakes are perfectly portioned, rich, sweet, chocolatey desserts with a yummy surprise baked on the bottom!
I have another birthday treat to share with you. My oldest daughter recently turned 12 and asked for chocolate cheesecake. So, I came up with these Mini Chocolate Cheesecakes, which I thought were cute and less intimidating than baking a whole cheesecake. :) This recipe makes 3 dozen, which is perfect to share at a potluck or party this summer!
Ingredients
36 Oreo cookies
24 ounces cream cheese, room temperature (3--8 oz. pkgs.)
2 cups Nestle semi-sweet chocolate chips, melted
1 (14 ounce) can sweetened condensed milk
2 teaspoons vanilla
4 eggs, room temperature
whipped cream
favorite fruit for garnish: cherries, strawberries, raspberries, etc...
Directions
1. Preheat oven to 325 degrees F. Line standard size muffin tin with cupcake liners and place an Oreo cookie in the bottom of each liner.
2. In an electric mixer, beat cream cheese until smooth. Mix in sweetened condensed milk, melted chocolate and vanilla. Beat until combined and smooth. Scrape down sides as necessary. Beat in eggs one at a time until evenly mixed.
3. Spoon batter (I use an ice cream scoop) into the liners dividing it equally among all 36. The batter should be almost to the very top of the liner.
4. Bake 15-18 minutes until cheesecake is set and not jiggly when you shake the pan. Let the cheesecakes cool in the pan on a cooling rack for 15 minutes. Remove cheesecakes from the pan onto the cooling rack and cool another 15 minutes. Chill cheesecakes in the fridge at least 2 hrs. or until cold. Overnight is best.
5. If you want to serve without the cupcake liners, gently peel them off. Top with whipped cream and fruit. Or just serve these in the liners, which makes it easier to pick up and eat without a fork.
Store extras in refrigerator.
Makes 36 mini cheesecakes
Adapted from Garnish and Glaze
 |
| I kept the crust simple, just an Oreo cookie. So easy! |
 |
| Fill the cupcake liners almost to the very top! |
 |
| My cheesecakes didn't turn out perfectly smooth. Obviously, they have cracks, but that's OK. No one will know once you top it with whipped cream! :) |
 |
| Here's the yummy surprise at the bottom! |
My daughter loved these little cheesecakes! The rest of our family did, too. We gave them 4.5 stars (out of 5).
We brought some of these cute little cheesecakes to church to share with friends. I liked how they were easy to transport in a cupcake carrier. I kept them in the liners and simply garnished with whipped cream and fruit just before serving. We didn't need any forks and we didn't have to worry about having a knife to cut pieces or plates to serve them. Much easier and less messy than a whole cheesecake. These would be perfect for those summer picnics coming up. Enjoy!


Comments
Post a Comment